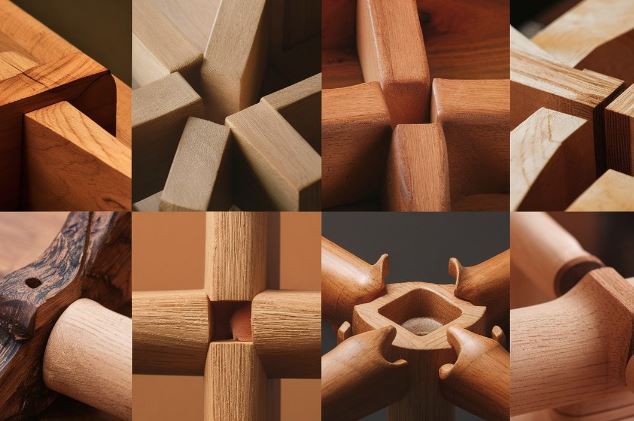
Wood joinery is the art of connecting two or more pieces of wood together to create strong and durable structures or decorative pieces. It requires precision, skill, and knowledge of different techniques. In this post, we will explore some popular wood joinery techniques and share tips to help you master this craft.
Mastering the Art of Wood Joinery: Techniques and Tips
- Dovetail Joints: Dovetail joints are renowned for their strength and aesthetics. They are commonly used in woodworking, especially in cabinetry and drawers. Dovetail joints involve creating interlocking tails and pins that fit together tightly. Practice cutting dovetail joints with a dovetail saw and chisel, ensuring the angles and measurements are precise.
- Mortise and Tenon Joints: Mortise and tenon joints are versatile and widely used for joining wood pieces. The tenon is a projecting tongue on one piece that fits into a mortise (hole) on another piece, creating a strong connection. Use a chisel or a router to cut the mortise and shape the tenon. Ensure a snug fit between the two pieces for optimal strength.
- Butt Joints: Butt joints are simple and commonly used for joining pieces at right angles. This joint involves joining the end of one piece with the face or edge of another. Reinforce the joint with screws, nails, or dowels for added strength. Use clamps or a woodworking vice to hold the pieces together firmly during assembly.
- Finger Joints: Finger joints, also known as box joints, are often used in box construction. They provide a large amount of surface area for gluing, creating a strong bond. Finger joints consist of interlocking rectangular cuts made on the edges of two pieces. Use a dado blade or a table saw with a jig to accurately cut the fingers. Ensure a tight fit to prevent gaps.
- Dado Joints: Dado joints involve creating a groove or channel in one piece of wood to accept the end or edge of another piece. This technique is commonly used in shelving and cabinetry to create strong and stable joints. Use a table saw or a router with a straight bit to cut the dado. Measure carefully to ensure a snug fit and use clamps to hold the joint while the glue dries.
- Practice and Precision: Wood joinery requires practice and attention to detail. Invest in quality woodworking tools for accurate cuts and measurements. Take your time to ensure precise joints, as small errors can affect the strength and appearance of the final piece. Continuously refine your skills through practice and experimentation.
- Glue Selection: Choosing the right glue is crucial for strong and durable joints. Select a high-quality wood glue that is suitable for your project and follow the manufacturer’s instructions for proper application and drying times. Apply an even layer of glue to both surfaces before clamping the joint together.
- Sanding and Finishing: After the joinery is complete, sand the surface to smooth out any rough edges or imperfections. Use progressively finer grit sandpaper for a polished finish. Apply a suitable finish, such as varnish or wood oil, to protect the wood and enhance its appearance.
In conclusion, mastering the art of wood joinery takes practice, patience, and attention to detail. Familiarize yourself with different techniques and choose the appropriate joinery method for your project. Invest in quality tools, follow precise measurements, and use the correct glue and finishing techniques to create strong, durable, and visually stunning wood joinery pieces.


